


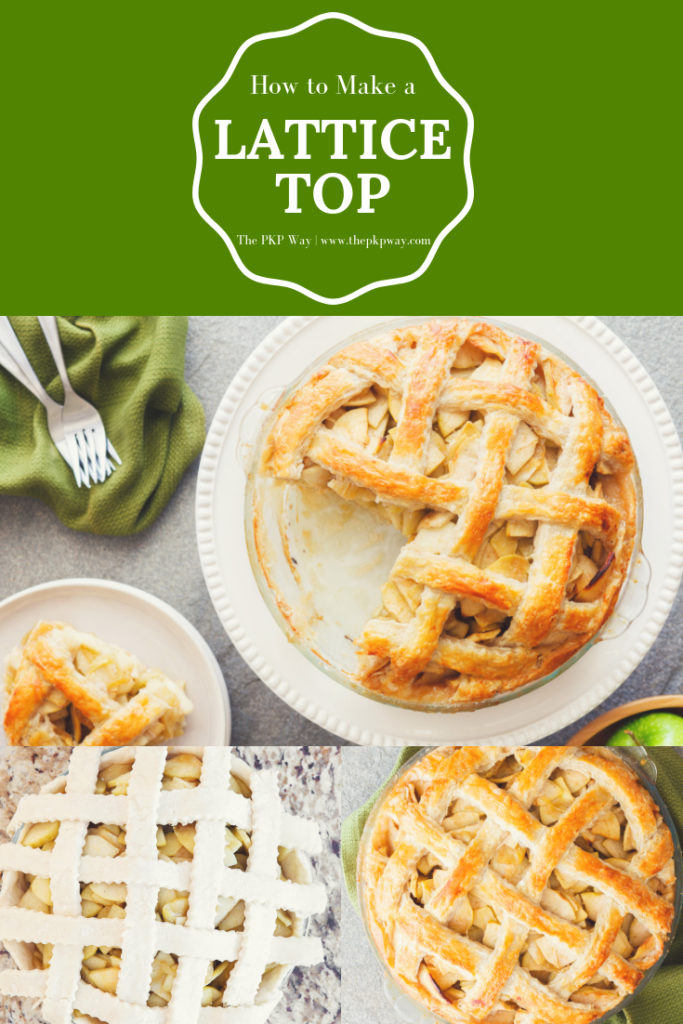

Easily learn how to make a lattice top with a step-by-step visual guide.
When I first started to make apple pies, I covered it with a simple disc of pie dough. I love topping pies that way because of how much flaky pie crust is in every bite.
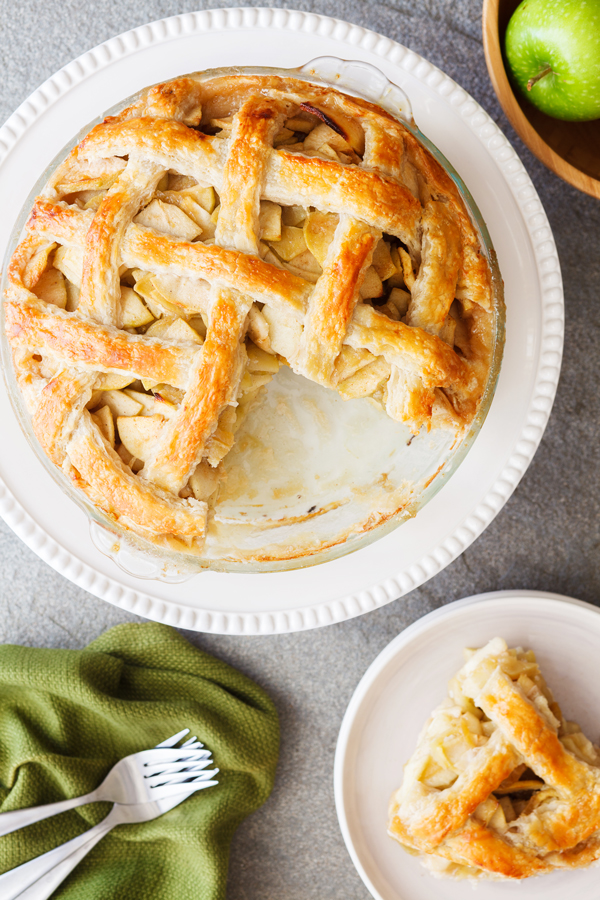
But when it comes to special occasions like say during the holidays, I like to be slightly more elaborate with a classic lattice top. I think guests appreciate and are impressed by the extra touch of love and effort.
The best part is that it’s not that much more work than a regular round top. Follow the visuals below and you’ll be all set!
How to Make a Lattice Top
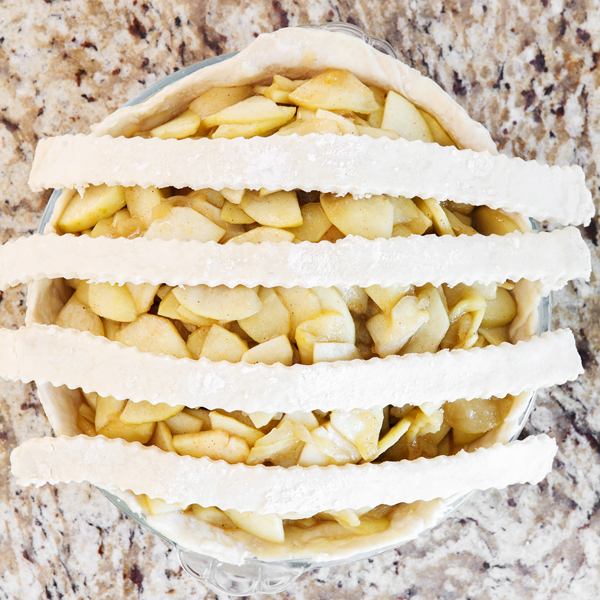
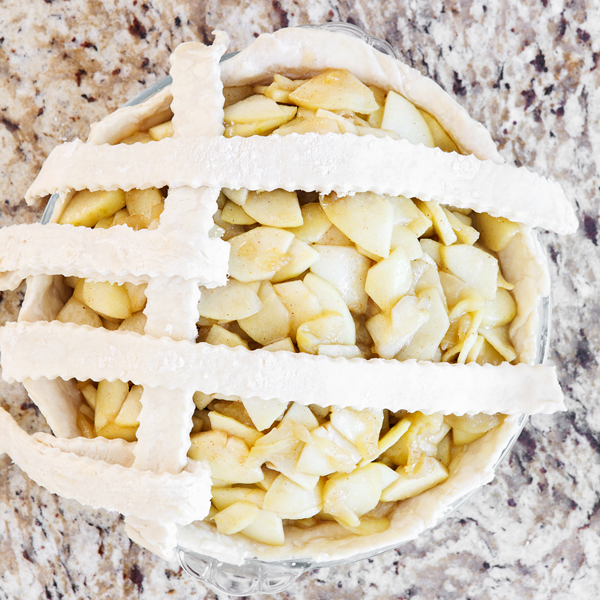
Cut strips of pie dough 1-inch wide. I find that a pastry wheel gets the job done quickly and easily. Lay the strips across the filled pie, about 1-inch apart.
Pro Tip: How far you space apart the strips will dictate how much pie filling is visible. If you’d like a tight lattice with very little filling visibility, place the strips closer together.
Fold back every other strip to where you want the perpendicular strip to begin.
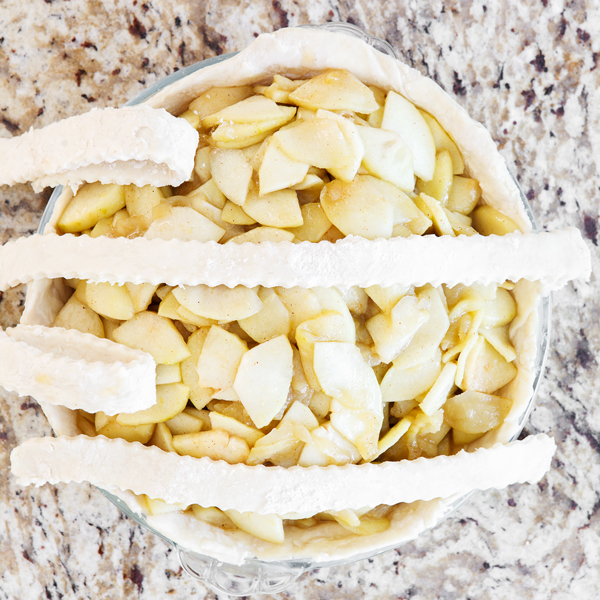
Now lay a strip of pie dough down, perpendicular to the other strips.
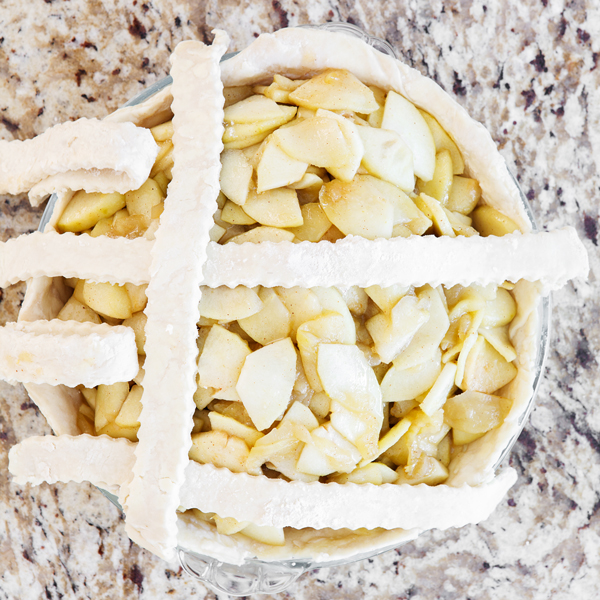
Replace the folded strips and repeat with the remaining strips.
Note: The perpendicular strips should also be spaced 1-inch apart.
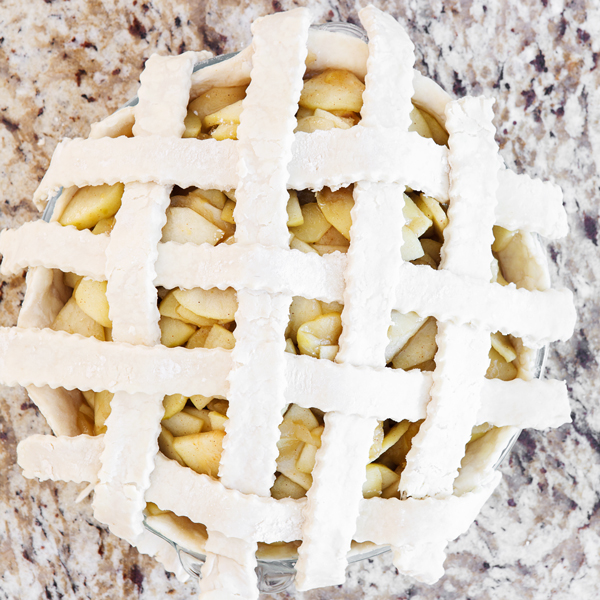
Continue the process until the entire top is covered with a lattice.
Note: This page contains affiliate links that help make The PKP Way possible. Should you choose to purchase anything via those links, I will receive a small commission paid by Amazon, not you.
I love how you broke your apple pie content into separate posts so you could go in depth into each aspect of making it!